Here is what you get: (click the pic to enlarge)
 Now
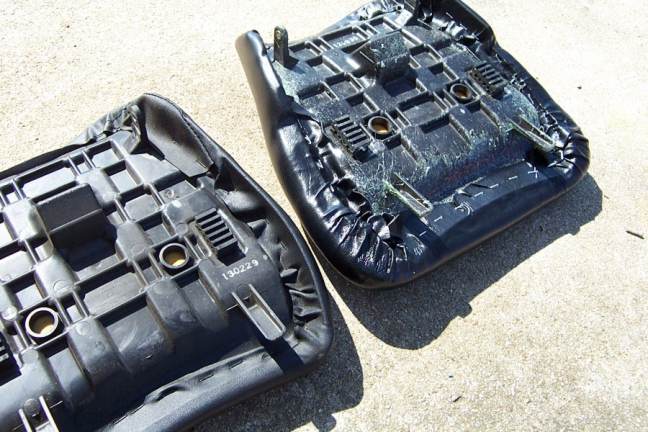
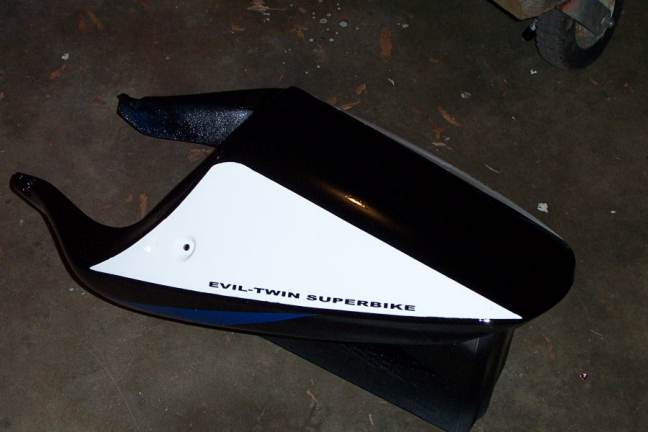
keep in mind. The TL seat won't work! It must be trimmed on the bottom.
Look closely above and you can see where I cut the underside quite a bit
to fit OVER the bodywork of the new gixxer tail. The cover must be removed
for this, and you dremel basically ALL the lip off the bottom (turn your
seat over and see
Now
keep in mind. The TL seat won't work! It must be trimmed on the bottom.
Look closely above and you can see where I cut the underside quite a bit
to fit OVER the bodywork of the new gixxer tail. The cover must be removed
for this, and you dremel basically ALL the lip off the bottom (turn your
seat over and see ![]() )
)
Step 2: OK
so we know the bottom needs surgery. What about the top? Well there IS
a gap that needs to be fixed:
 See
the gap? The seat needed to be "squared off and leveled on the rear. So
off to the upholsterers it goes
See
the gap? The seat needed to be "squared off and leveled on the rear. So
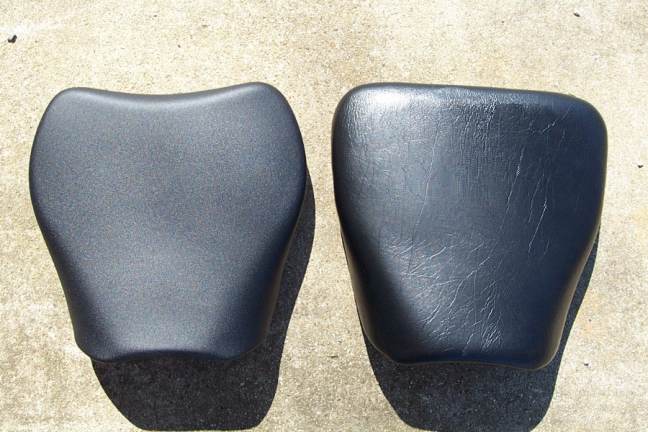
off to the upholsterers it goes The seat came out wonderful! The guy squared
off the corners and then made the back level. Then recovered it to look
stock. But it has a shinier finish....like a cruiser seat.
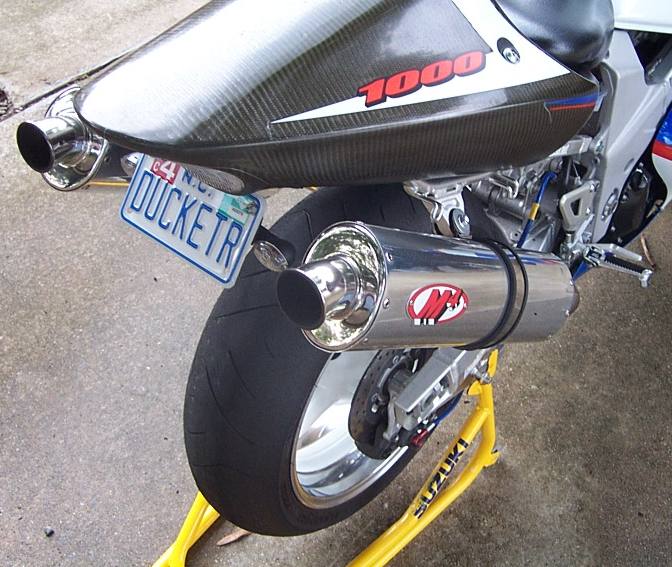
Step 3: The next step is fitting it to the bike. After the test fit, it was apparent that the tips needed to be trimmed, and the mounting points were off.....so I needed anchors.
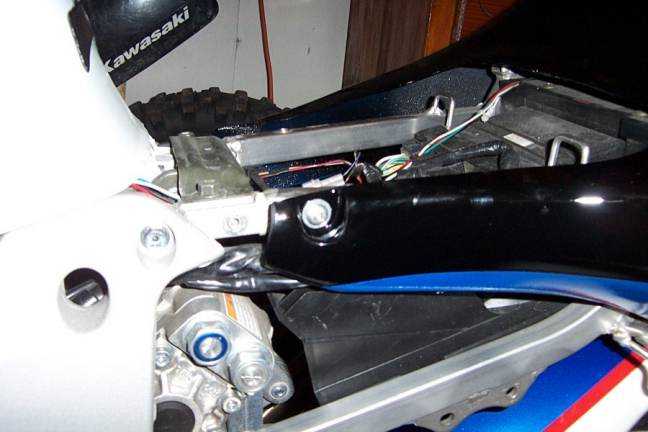 Here
you can see where I trimmed the front of the tail.You can also see the
mounts. See the bolt securing the tail? That is new. The hole JUST to the
left is the seat mount for the stock TLR seat. It worked out well.
Here
you can see where I trimmed the front of the tail.You can also see the
mounts. See the bolt securing the tail? That is new. The hole JUST to the
left is the seat mount for the stock TLR seat. It worked out well.
Now here is the anchor for that mount:
 It's
simply a anchor from "Automotive fasteners" that you sink into the frame
and use a 10mm bolt and nut to torque down and squash the inside of the
anchor. Works great and is basically what Suzuki uses anyway
It's
simply a anchor from "Automotive fasteners" that you sink into the frame
and use a 10mm bolt and nut to torque down and squash the inside of the
anchor. Works great and is basically what Suzuki uses anyway
So now to the back anchors:
basically the same deal, but mounted at an
angle above the stock one:


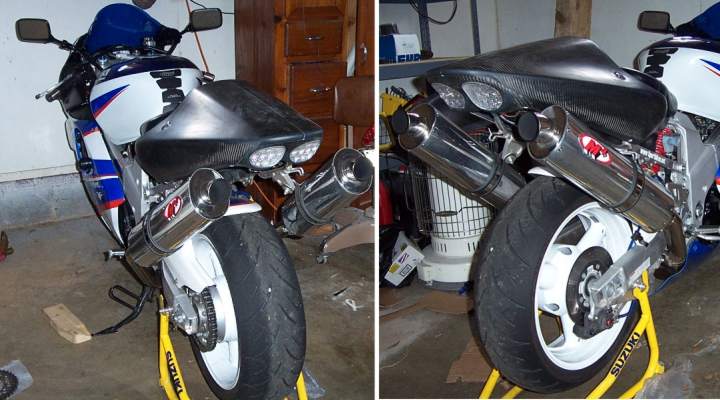
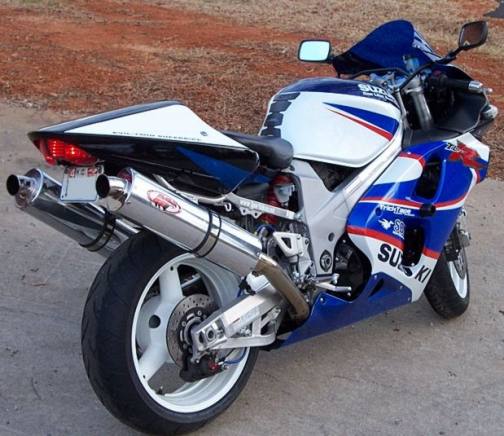
Here is the finished product:
And here it is installed
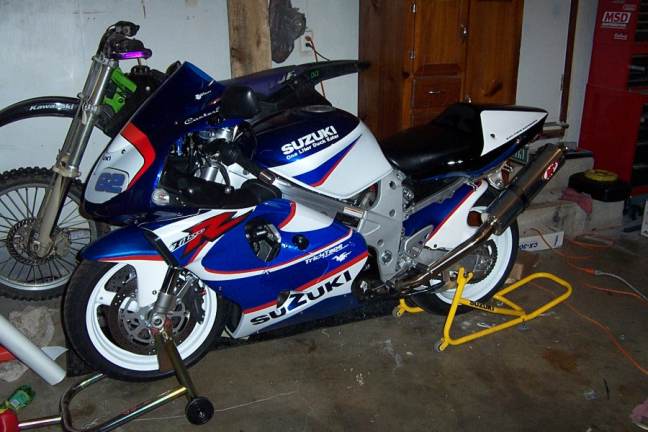
Compare before and after:
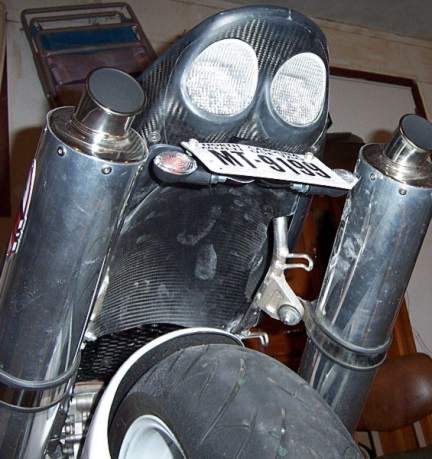
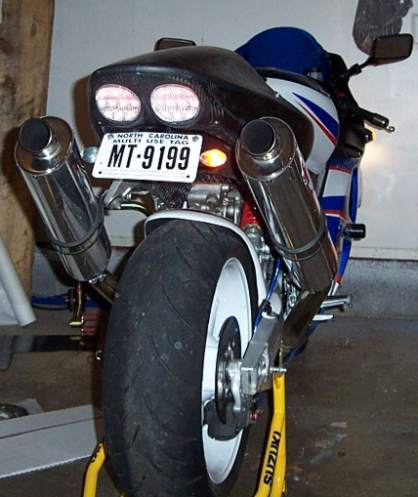
UPDATE: I have aquired Sharkskins GSXR1000 tail with R6 lights in Carbon fiber!!!!!!
Here are the pics: